lunar eclipse.jpeg

How to Shoot a Lunar Eclipse

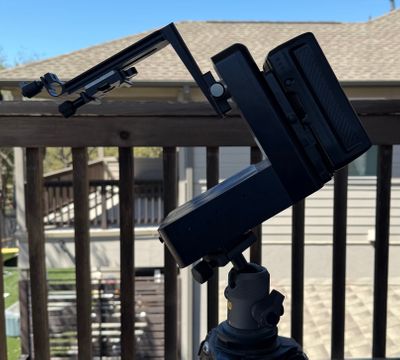
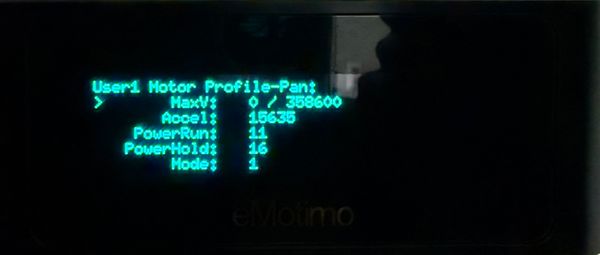
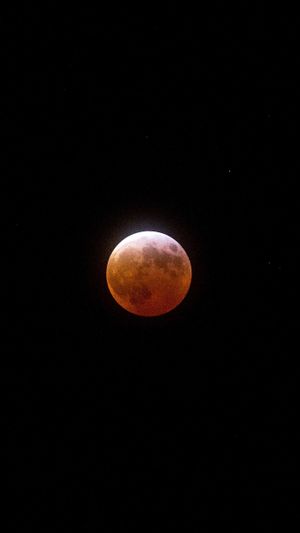
Capturing a lunar eclipse has been a challenge I’ve wanted to tackle for a while. I always assumed I’d need specialized astronomy equipment and tons of experience to pull it off. However, with some ingenuity and research, I found a way to align my Emotimo ST4 tilt motor with the North Star, effectively using it as an equatorial mount to track the moon at 200mm.

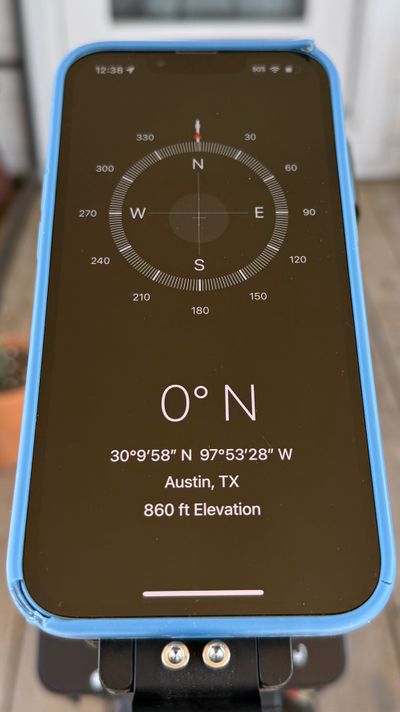
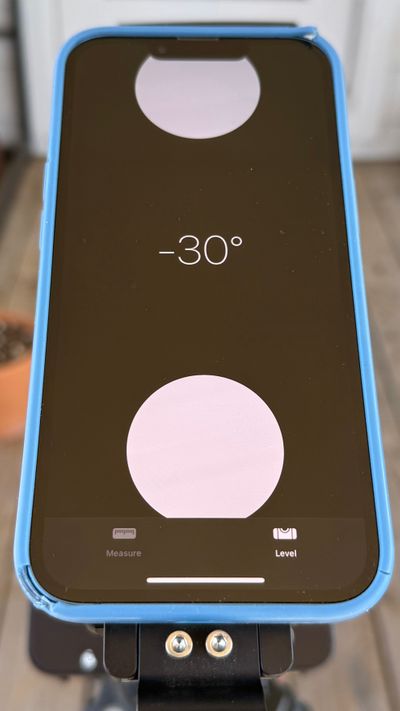
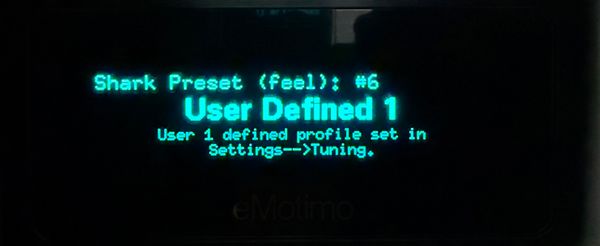
A programmable motion control system, along with a smartphone with a level app and compass, is essential for making this setup work. While I’m describing this process using the Emotimo ST4, you can apply the same method to other motion control systems.

emotimo st4.jpg

Step 1: Level Your Tripod

Start by leveling your tripod. Once level, I like to invert the tilt axis so that the camera is upside down. This ensures it has enough clearance to tilt while tracking the moon. However, the necessity of this step depends on the moon’s position in the sky. On the night I shot, the moon was nearly overhead, requiring some adjustments. The key is ensuring your camera has enough clearance to follow the moon’s path.

true north.jpg

Step 2: Align with the North Star

Now that the tilt axis is inverted, use the L-bracket to rest your phone. The most important factor is that your phone lays flat against the tilt bracket or at least remains aligned with the tilt motor to assist in the alignment process.

Using Your Compass:

  1. Open your compass app and ensure it’s set to true north (not magnetic north) in the settings.
  2. Rotate the pan axis until it’s pointing due north (0°) as accurately as possible.
0004.jpg

Step 3: Tilt/Elevation Angle

Using Your Level :

  1. Once aligned, switch to the level app to set the correct tilt/elevation angle.
  2. Your required tilt angle depends on your location. I’m in Austin, Texas, where the correct tilt is 30.3 degrees. Look up the correct elevation for your area.

Once you’ve done this, you’re roughly polar aligned. Now it’s just a matter of framing the moon and setting keyframes to match its movement.

Step 4: Tracking the Moon

The moon moves across the sky at an average speed of 0.5 degrees per minute (or roughly its own diameter every 2 minutes). Due to Earth’s rotation, it travels about 15 degrees per hour.

The goal isn’t perfect tracking—just keeping the moon framed well throughout the eclipse. The moon will shift slightly in the frame over time, but we can align the images in post.

Step 5: Camera Settings and Intervalometer

You’ll need:

  • An intervalometer
  • A memory card with enough storage for the number of frames you’ll capture

To calculate the number of frames:

Time-lapse duration × Interval length = Total frames

Total frames ÷ Frame rate = Final video length

Exposure Settings

I manually ramped my exposure throughout the eclipse:

  • Start: f/8, ISO 100, 1/4000s
  • Totality: f/5, ISO 3200, 1/4s

Unfortunately, I haven’t found an automated solution for exposure ramping, so I manually adjusted settings over four hours.

My interval was 4 seconds, but I shot way too many frames. A 10-second interval would likely be more than sufficient.

  • emotimo st4.jpg
  • emotimo st4.jpg
  • emotimo st4.jpg
  • emotimo st4.jpg
  • emotimo st4.jpg
  • emotimo st4.jpg

Step 6: Programming the Emotimo ST4

Since I had no way to lock the pan axis, I created a custom user profile and set the motor power hold strength to 16 (the max).

I programmed the motion as a constant video move instead of an SMS time-lapse.

Keyframe Setup:

  1. Keyframe 1 – Frame the moon at the start.
  2. Keyframe 2 – Tilt until reaching 60 degrees (since 4 hours × 15 degrees = 60 degrees).
  3. Keep the pan axis fixed to maintain polar alignment.
    • Use a tripod head on the tilt axis to frame the moon or make minor adjustments to the camera’s mounting plate you can pan slightly left or right a few degrees if needed to get the moon in frame.
  4. Set ramping to 1% – This ensures the move reaches max speed as fast as possible.

Final Checks:

  1. Return to Keyframe 1, adjust exposure, and check composition.
  2. Start the intervalometer and the motion move.
  3. You shouldn’t need to adjust exposure much until totality, at which point you’ll need to gradually open up the aperture and raise the ISO, watching the highlights on the remaining sliver of the moon.

Step 7: Post-Processing

Once the eclipse is captured, you’ll need astronomy software for stacking and aligning images.

On Mac, I used Siril (a free program), but there are several options, especially for Windows users.

Final Thoughts

That’s the basic process for capturing a lunar eclipse! The biggest challenge is aligning the motion control system and managing exposure changes over time. But with careful planning, you can capture an incredible time-lapse of this celestial event.